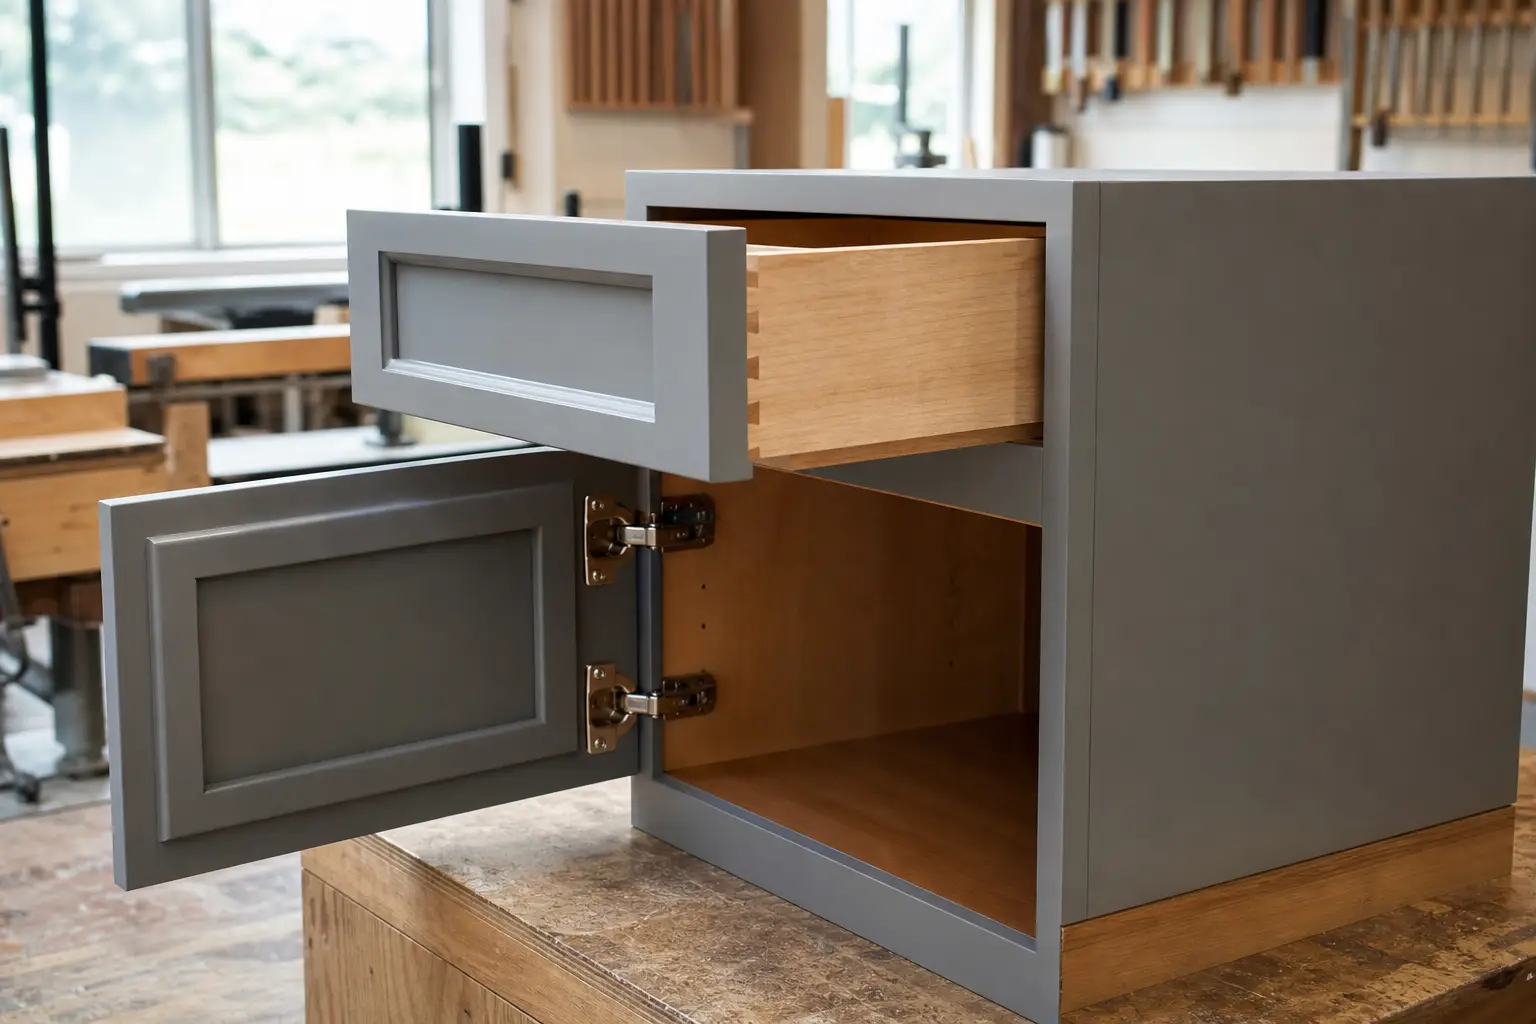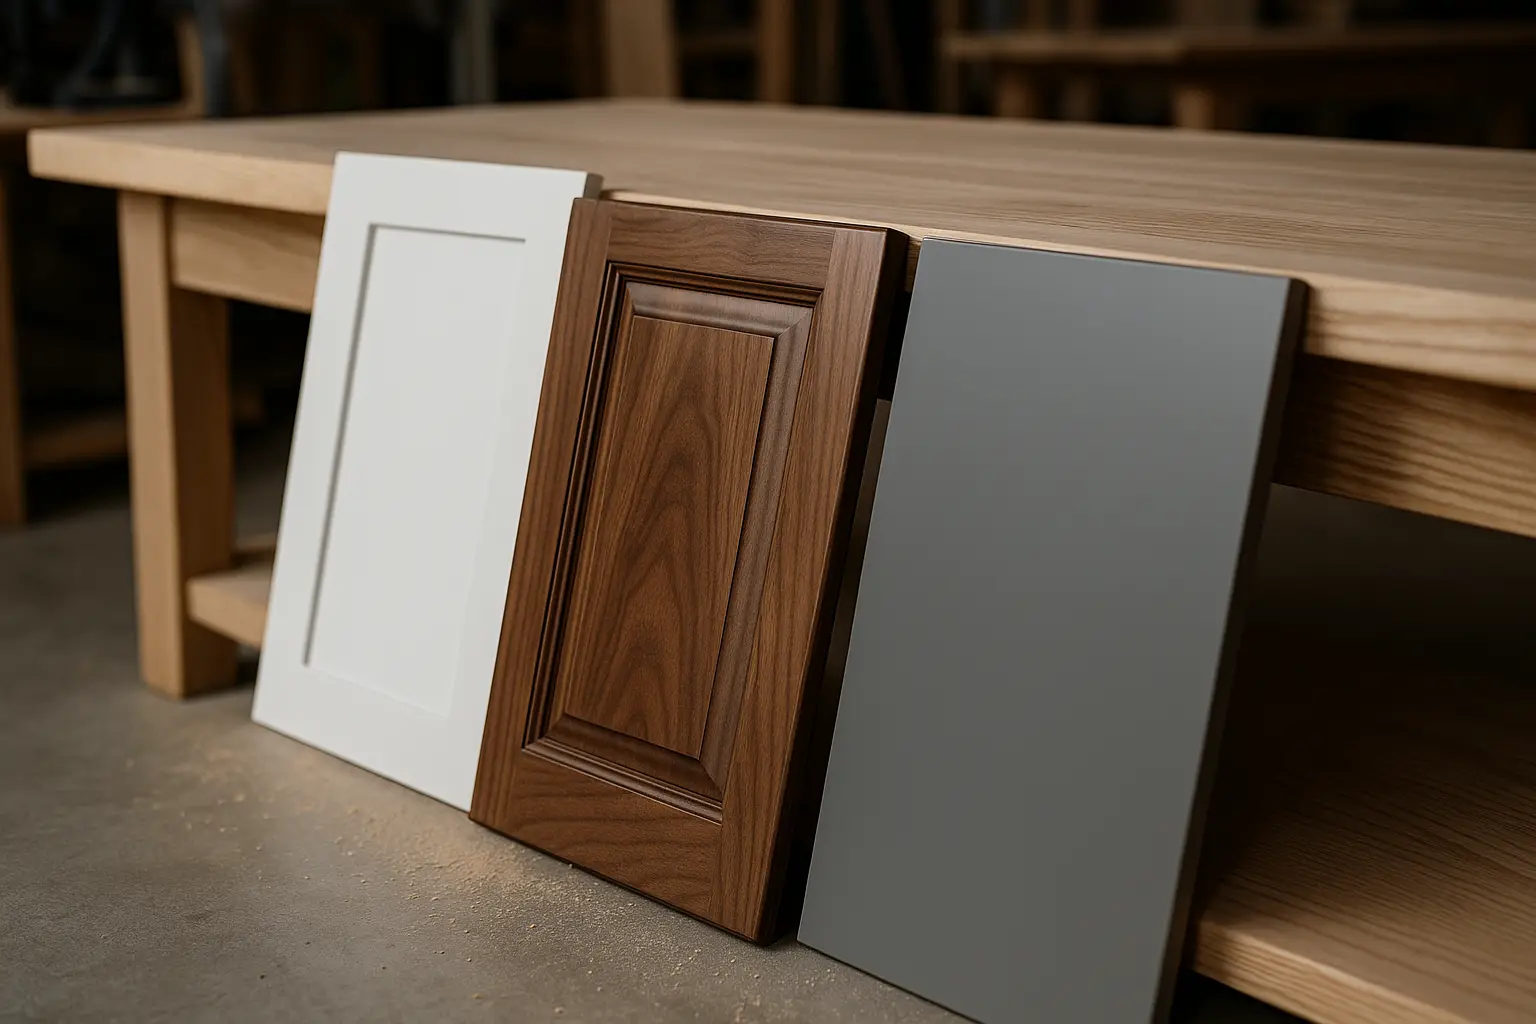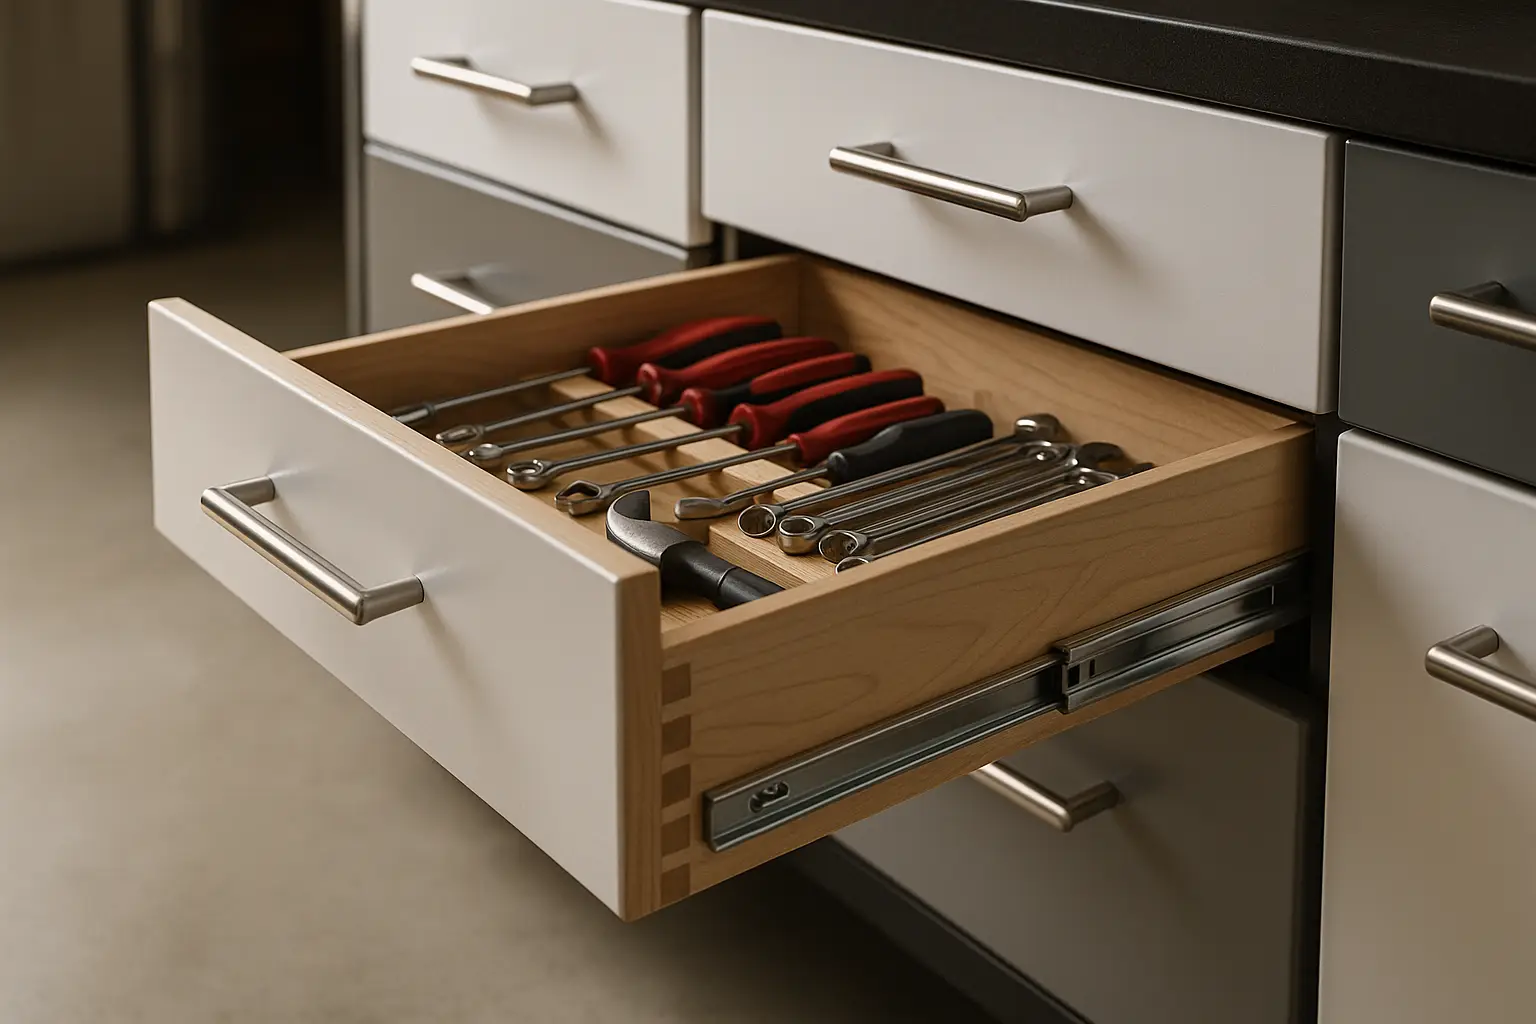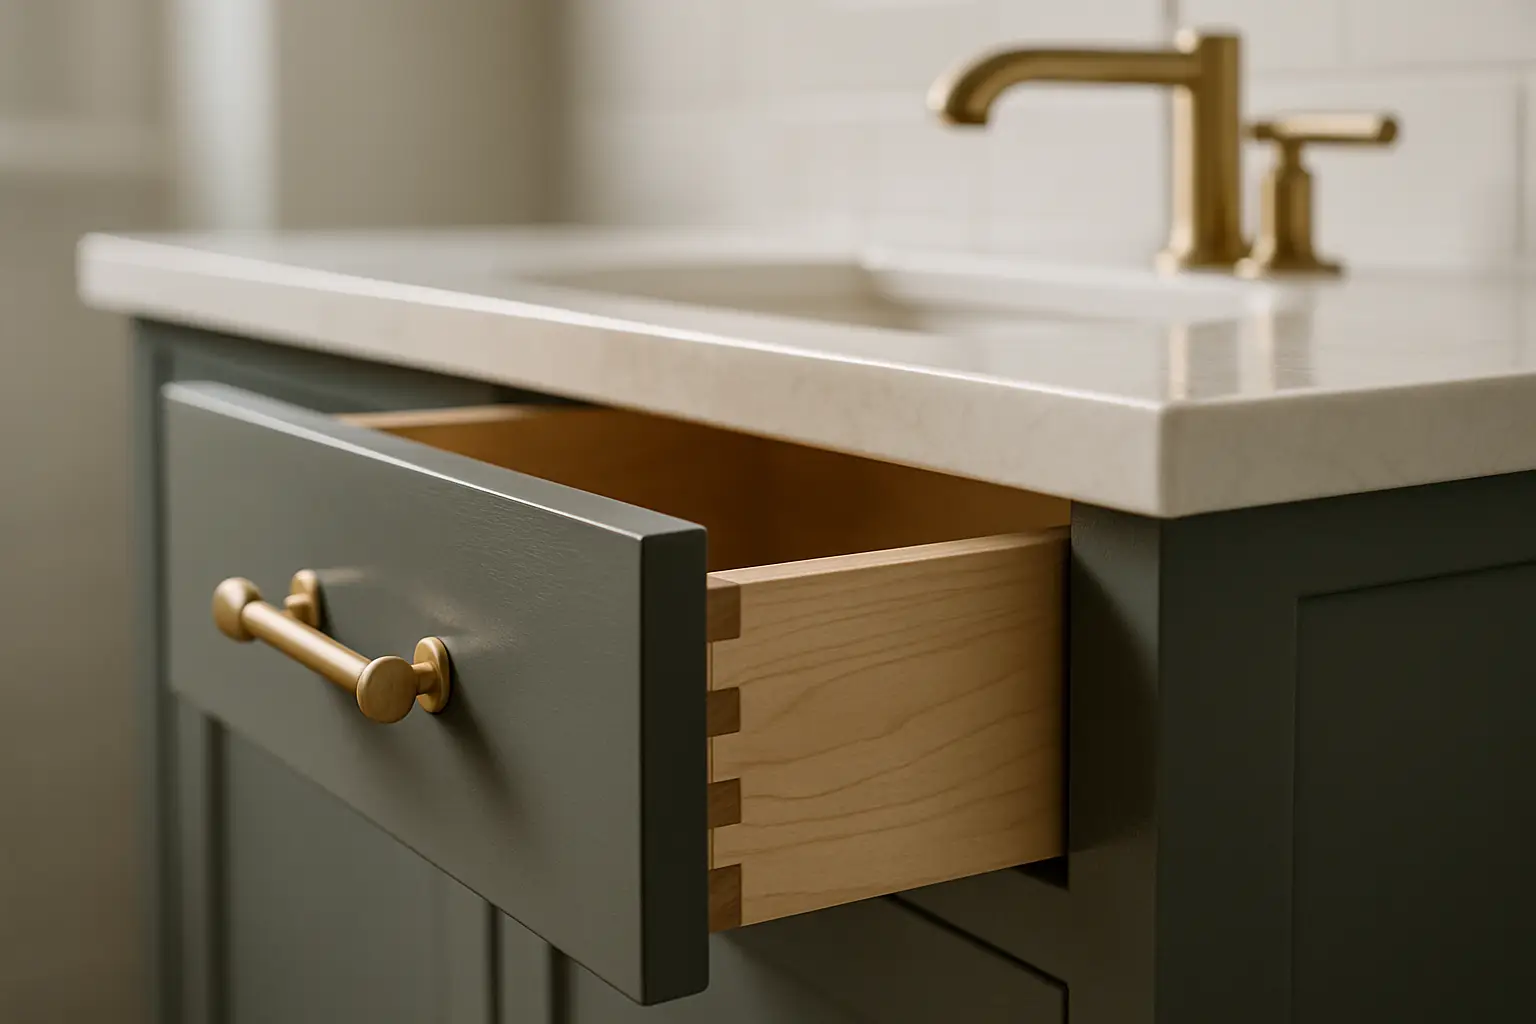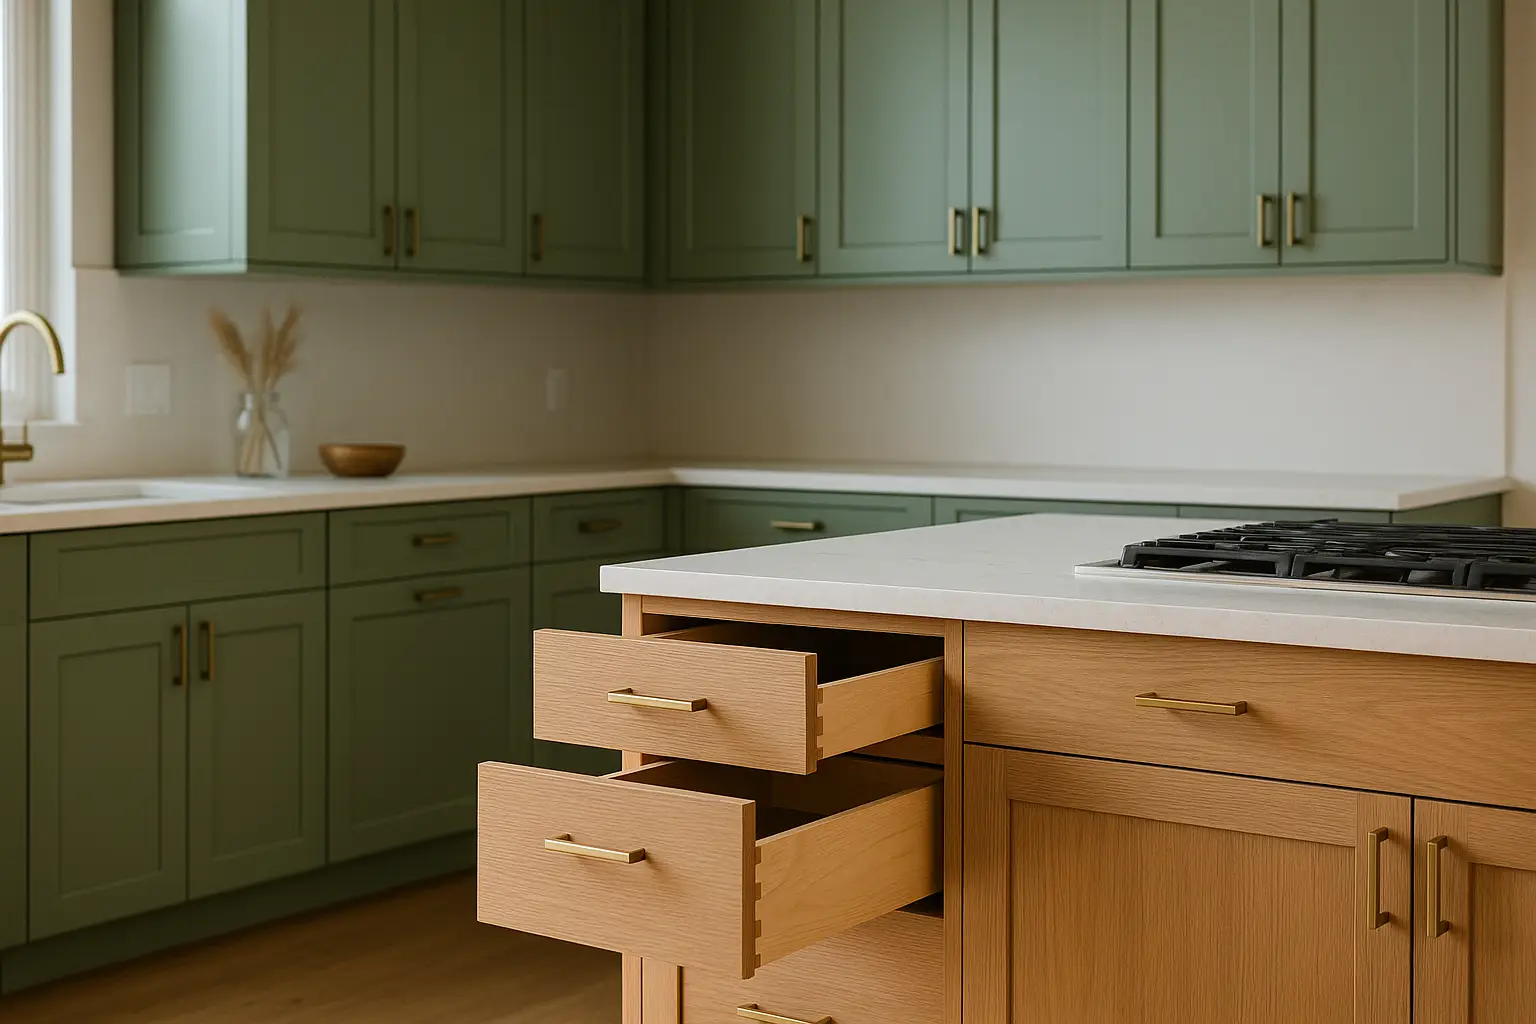
The luxury kitchens getting built across the Bay Area right now share a quiet obsession: keeping the counters clear. An appliance garage, meaning a dedicated cabinet that hides the coffee maker, toaster, and stand mixer behind a door yet keeps them plugged in and ready, is how designers pull that off. Done well it is one of the most satisfying features in a high-end kitchen. Done poorly it is a dark box you never open. This guide covers how to design, build, and install an integrated appliance garage that earns its place, for homes in San Jose, San Francisco, and San Mateo.
What an Appliance Garage Actually Solves
The problem is simple and universal: the appliances you use every day are the ones you least want to look at. The coffee maker, the toaster, the electric kettle, and the stand mixer are all daily tools, and in most kitchens they colonize the counter permanently because putting them away every morning is a chore. Luxury kitchen design has settled on one answer, which is to give those appliances a home where they stay plugged in, ready, and hidden until you open a door.
That is the whole idea of an appliance garage. It is not extra storage in the general sense. It is a purpose-built compartment sized to specific machines, with power inside and a door that opens cleanly out of the way. The payoff is a countertop that stays clear without you giving up the convenience of appliances that are always ready to go. In an open-plan Bay Area kitchen where the counters are visible from the living space, that clear surface is a large part of what makes the room feel high-end.
Designing the Compartment Around Real Appliances
An appliance garage only works if it is designed around the actual machines going into it, not a generic box. Start by measuring every appliance you want to house, including its height with the lid open for a blender or the handle up on a toaster. A stand mixer and an espresso machine are tall, so they often push the garage into a corner unit or a run of tall cabinetry where there is vertical room, while a coffee maker and toaster fit comfortably in a standard 24 inch deep base cabinet section.
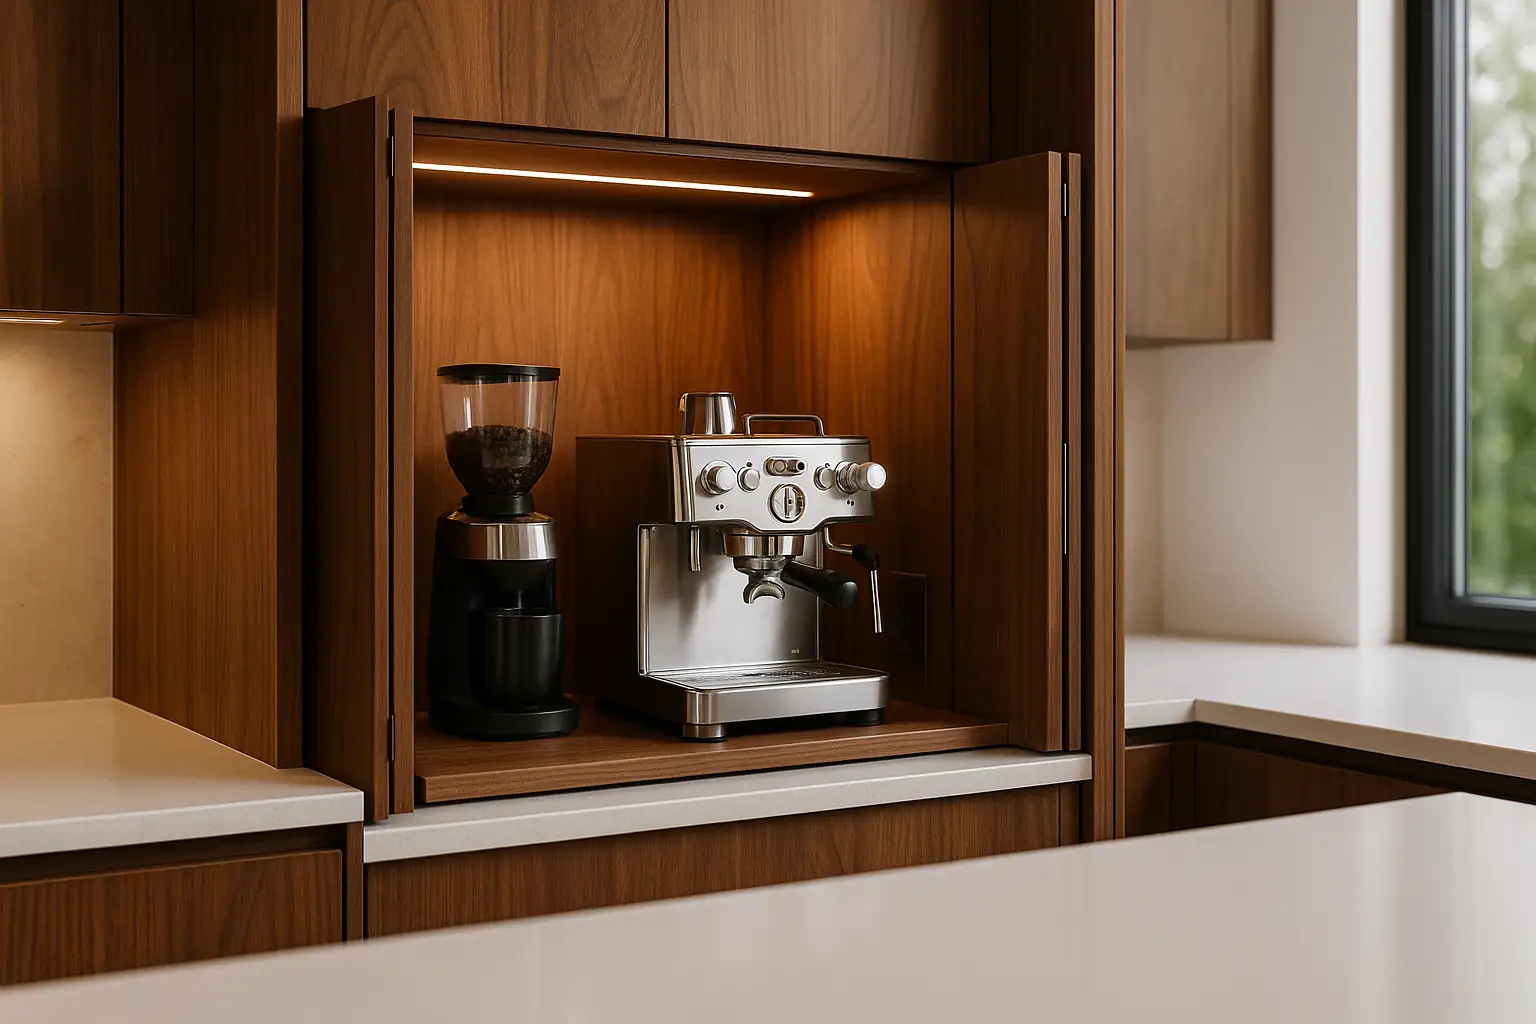
Clearance is the detail people miss. Behind and above each appliance you need room for the plug, for steam and heat to escape, and for your hands to lift a carafe or press a lever. Heat and steam producers, like coffee makers and toasters, need the compartment open while running and benefit from a heat-tolerant interior finish rather than a raw or delicate one. Group appliances by how they are used: a coffee station with the maker, grinder, and mugs together is far more useful than the same machines scattered. Getting the internal layout right is what separates a garage you use every day from one that becomes a junk drawer with a fancy door.
Materials and Hardware That Make It Feel Luxury
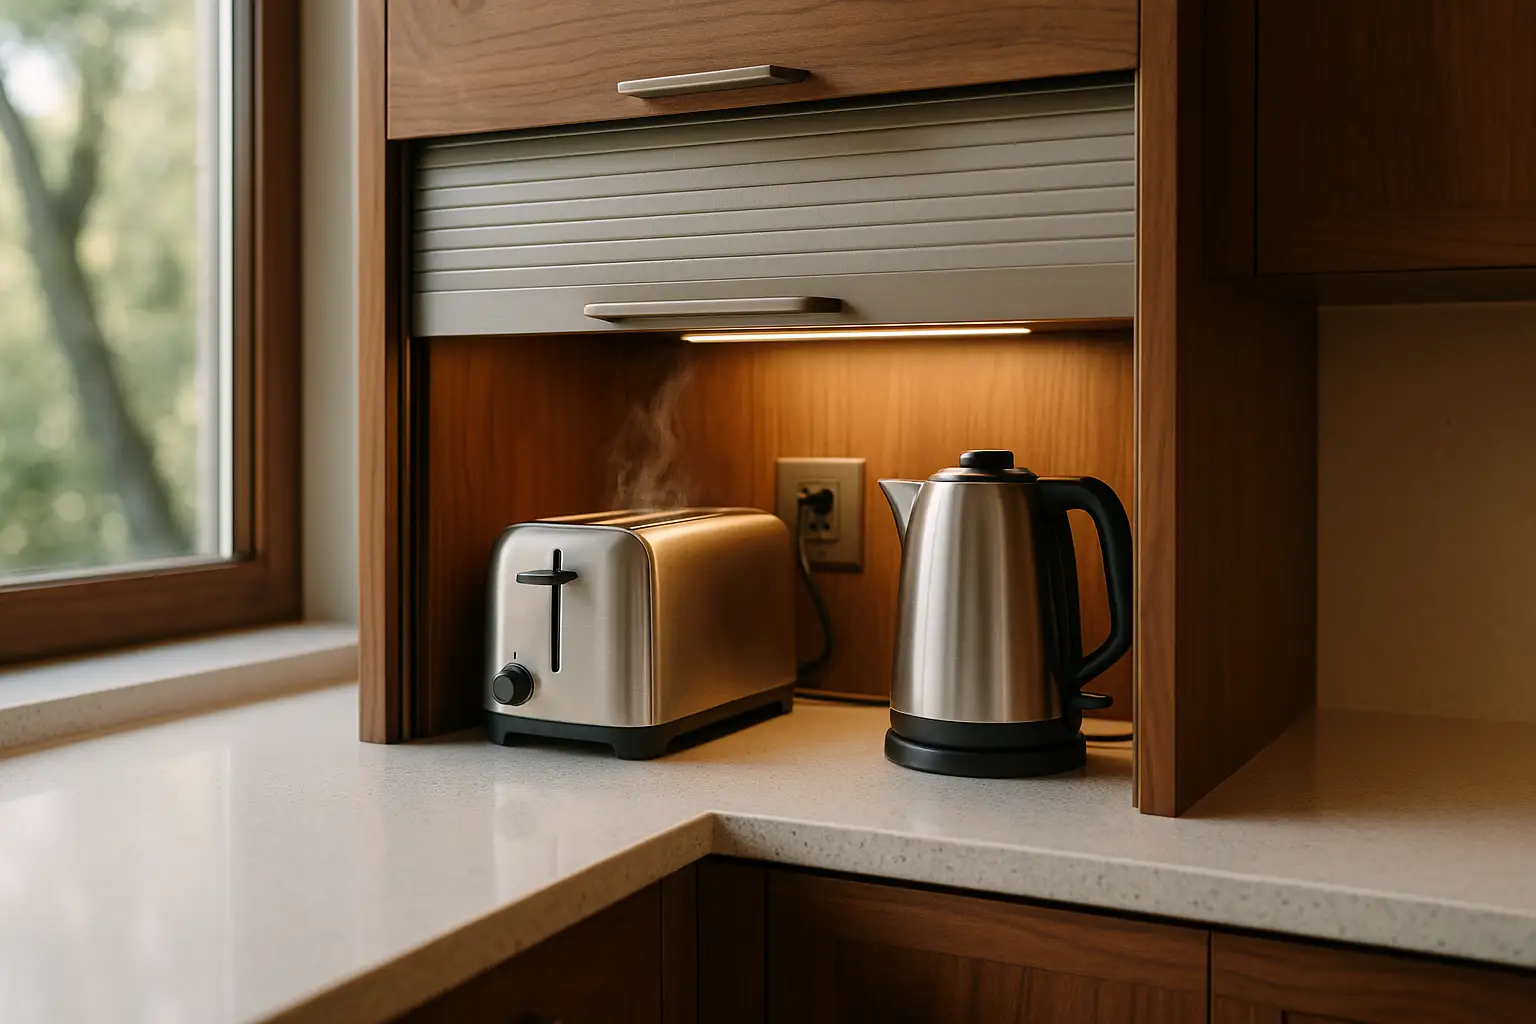
The door is where an appliance garage announces its quality, and there are three main approaches. A tambour is the classic roll-up door made of narrow slats that curl into the top or side of the cabinet, and it needs very little depth for the door itself, which is why it has been the traditional choice. A lift-up flip door rides on hardware that swings the panel up and overhead so it clears the opening entirely, giving the cleanest access. Bi-fold pocket doors fold and slide back into the cabinet sides so they vanish completely, which reads as the most modern and unbroken of the three when the kitchen calls for a minimal look.
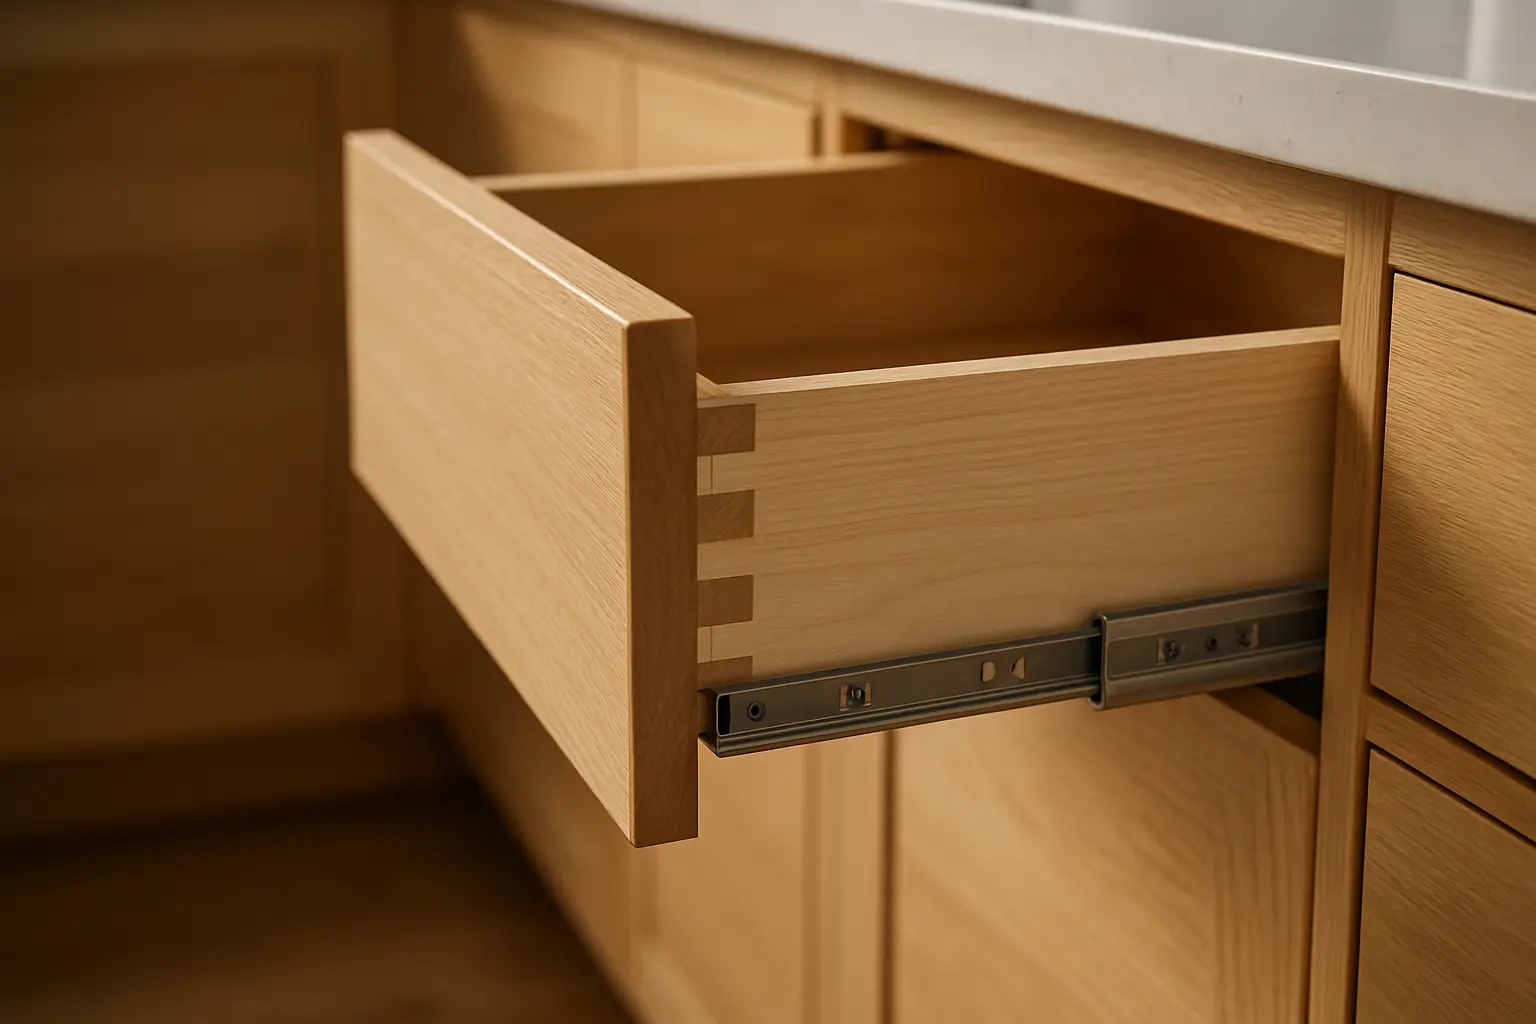
Inside, the finishes and fittings should match the rest of the kitchen. We build these compartments from furniture-grade plywood so they hold up to the heat and moisture appliances throw off, and we can line the interior in a durable laminate or veneer that wipes clean. An interior outlet keeps everything cordless on the counter, integrated LED lighting turns on with the door so you are not reaching into a dark box, and a pull-out shelf on full-extension slides lets a heavy mixer roll forward instead of being wrestled out. These are the touches that make the feature feel considered rather than tacked on.
Getting the Installation and Power Right
The single most important coordination step is electrical. An appliance garage needs its own outlet inside the compartment, and that has to be planned with your electrician during rough-in, before drywall closes up the wall. Retrofitting power into a finished cabinet is possible but messier and more expensive, so the time to decide is when the kitchen layout is still on paper. Tell your designer which appliances live where, and the outlet location follows from that.
Placement in the room matters too. A corner is a natural home for an appliance garage because it uses space that is otherwise awkward, and it keeps the coffee or baking station tucked out of the main traffic path. Ventilation clearance, door swing, and the reach to the outlet all need to be checked against the real cabinet before it is built, which is exactly where local custom manufacturing helps. Because American Built Cabinets builds in San Jose and sizes the compartment and hardware to your specific machines, the garage fits the appliances and the wall on the first try, and we coordinate the outlet placement with your build schedule so nothing gets discovered too late.
FAQ
Q1: What is an appliance garage in a kitchen?
A1: It is a cabinet designed to store countertop appliances out of sight while keeping them powered and accessible. Instead of clearing the coffee maker off the counter every morning, you open a door or lift a panel and the appliance is sitting on its own shelf with an outlet right there. It keeps the main counters clear without banishing the tools you use daily.
Q2: Do appliance garages need special ventilation?
A2: For heat and steam producing appliances, yes. A coffee maker or toaster releases steam and warmth, so the compartment should stay open while in use or include ventilation and a heat-tolerant interior finish. A tambour or pocket door that stays open during use handles this naturally. We plan the interior finish and clearances around what will live inside.
Q3: What door style works best for an appliance garage?
A3: The three common choices are a roll-up tambour door, a lift-up flip door on hardware that lets the panel swing overhead, and bi-fold pocket doors that slide back into the cabinet sides. Pocket doors are the cleanest modern look because they disappear entirely. Tambour is the classic solution and needs the least depth for the door itself.
Q4: How much counter depth does an appliance garage need?
A4: Plan for the appliance depth plus a few inches of clearance for the plug and airflow, which usually means the standard 24 inch base cabinet depth is enough for most machines. Taller items like a stand mixer or espresso machine need vertical clearance too, so the garage is often built as a corner unit or a section of tall cabinetry to give height.
Q5: Can an appliance garage have its own outlet and lighting?
A5: Yes, and it should. An interior outlet is what makes the appliance stay ready without cords running across the counter, and it needs to be planned with your electrician during rough-in. Integrated LED lighting that comes on when the door opens makes the interior actually usable rather than a dark shelf you have to reach into blindly.
Q6: How long does a custom appliance garage take in the Bay Area?
A6: Built into a larger cabinet order, an appliance garage adds no meaningful time, and our typical lead time is about three weeks from our San Jose shop once the design and finishes are set. Because we manufacture locally, we can size the compartment and door hardware to your exact appliances and coordinate the outlet placement with your build schedule.